Hello Android!
Android Studio Installation
Android Studio is the official Integrated Development Environment (IDE) for Android app development, based on IntelliJ IDEA.
Before starting the installation process, please Download the latest version of Android Studio. You should have JDK (Java SE Development Kit) 7+and you can download it from here.
So let's launch Android Studio.exe. Make sure before launching Android Studio, that environment variable JAVA_HOME is set to the JDK installation directory via command
SET JAVA_HOME.
Otherwise, Follow the steps HERE.
Installation on Windows Platform
Requirements:
- 3 GB RAM minimum, 8 GB RAM recommended
- 1280 x 800 minimum screen resolution
- Microsoft® Windows® 7/8/10 (32- or 64-bit)
Installation
- Launch
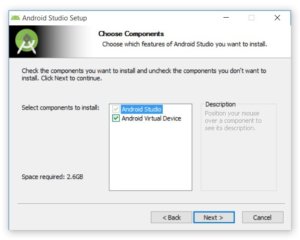
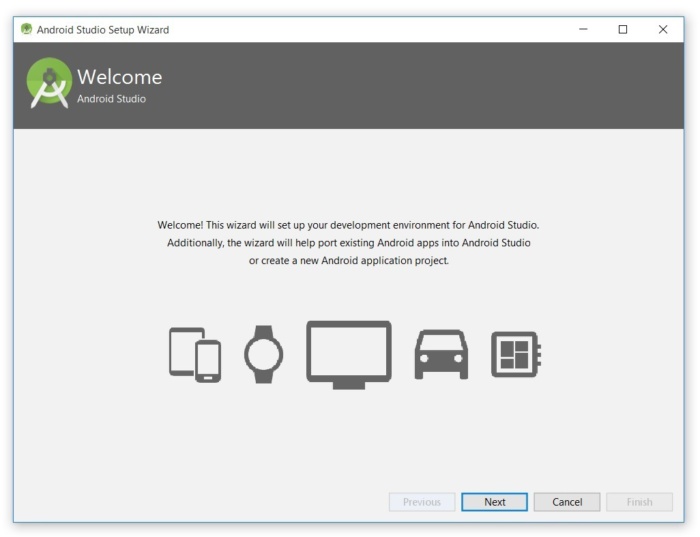
android-studio.exeto start the installation process. The installer responds by presenting the Android Studio Setup dialog box as shown. Click Next to go the Android Virtual Device (AVD) screen.

- Choose the default settings and click Next.
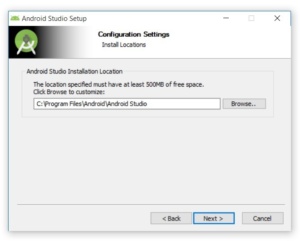
- After clicking Next,the Configuration Settings panel will show up, where the place to store android files have to be specified. After providing the location, click Next.
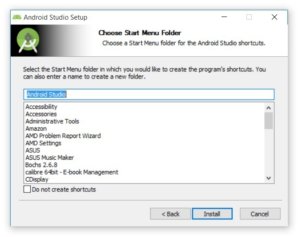
- On clicking Next, Choose Start Menu Folder panel shows up. Keep the default setting and click Install.
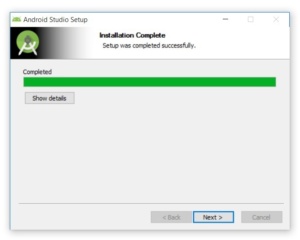
- The following Installing panel appears:
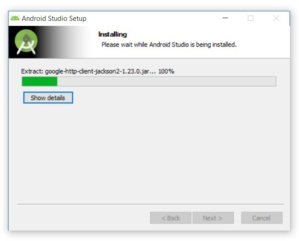
- Clicking Show details shows the names of files being installed and other activities. When installation finishes, the Installation Complete panel appears.
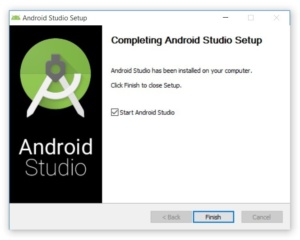
- To complete the installation, leave the Start Android Studio box checked and click Finish.
Running Android Studio
- The first time Android Studio runs, it presents a Complete Installation dialog box that offers the option of importing settings from a previous installation.
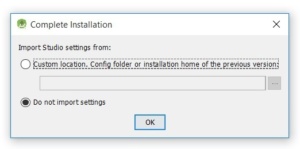
- Choose NOT to import settings (the default selection) and click OK, which would take to the following splash screen:

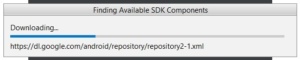
- A message box which says Finding Available SDK Components pops up.
- At this point, Android Studio presents the following Android Studio Setup Wizard dialog box:
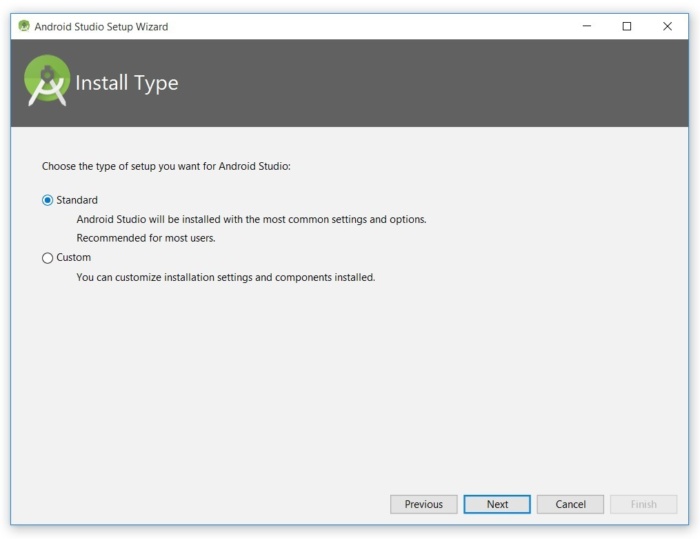
- Click Next, and the wizard invites to select an installation type. Keep the default Standard setting.
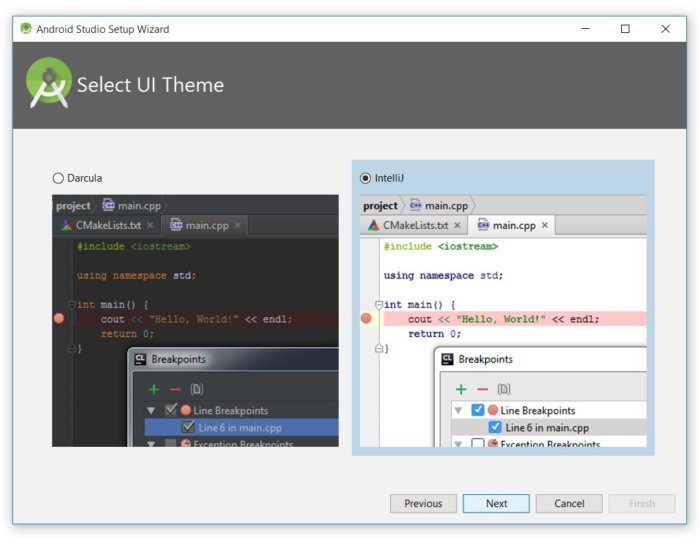
- The next window asks user to select a user Interface Theme. Choose any one theme and press Next.
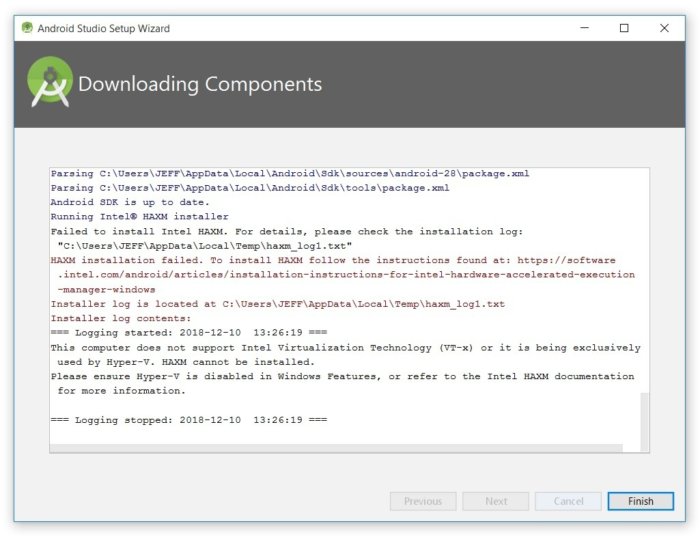
- A Verify Settings window opens. Click Finish to begin the process of downloading SDK components.
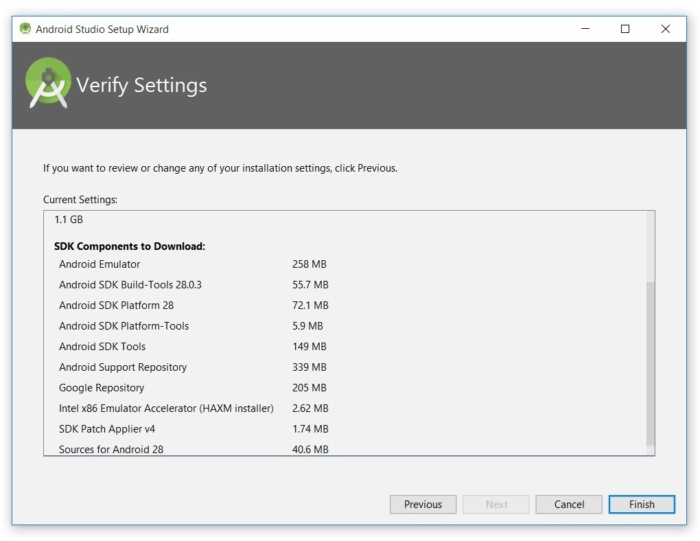
- On the next window, Android Studio begins the process of downloading SDK components.
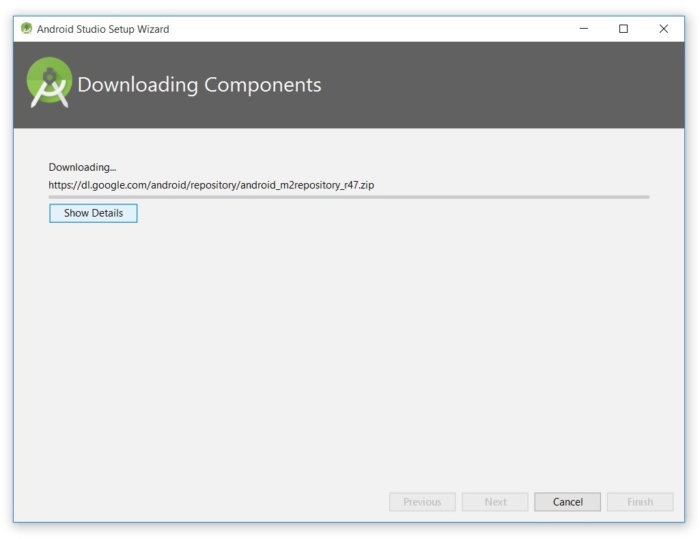
It can take several minutes for this part of the setup to finish. Finally, click Finish to complete the wizard.
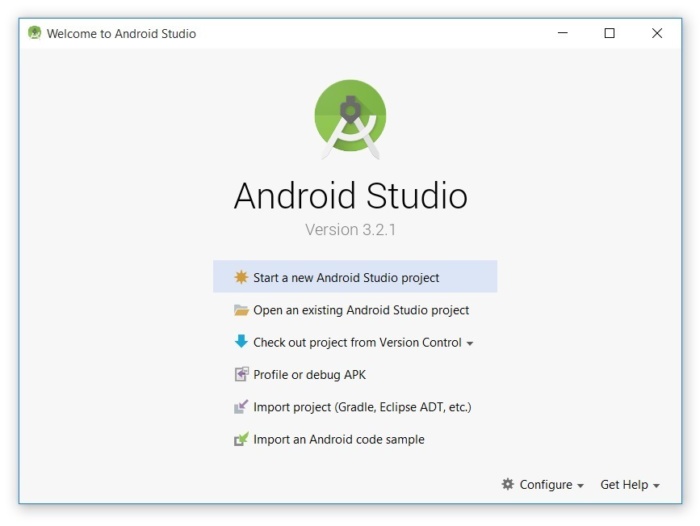
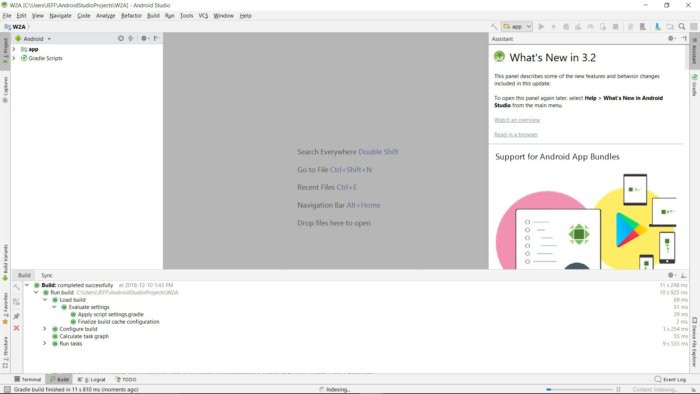
The Welcome to Android Studio dialog box appears.
Creating first App - Hello World
Now the installation process is done, and we can move to create our first app, Hello World - the beginning project of every developer.
- Click on Start a new Android Studio project. Android Studio will respond with the Create New Project dialog box as shown.

- Fill the project details and click Next.
Application Name : It should match with the purpose of the app.
Company Domain : It is the domain name, which will be the app identity when the app will be uploaded on the playstore.
It should have three terms atleast (e.g. com.iitdh.oss) and should be written in decreasing order ( com -> company name -> project {->}.. ) and not in opposite order.Project Location : Specify the Project location. Make sure the location name does not have white spaces in between.
Generally, white spaces occurs in Computer Username (e.g. Sonu Sourav), in which case the user name
should be changed to a single word (e.g. SonuSourav) otherwise it poses a problem in the future.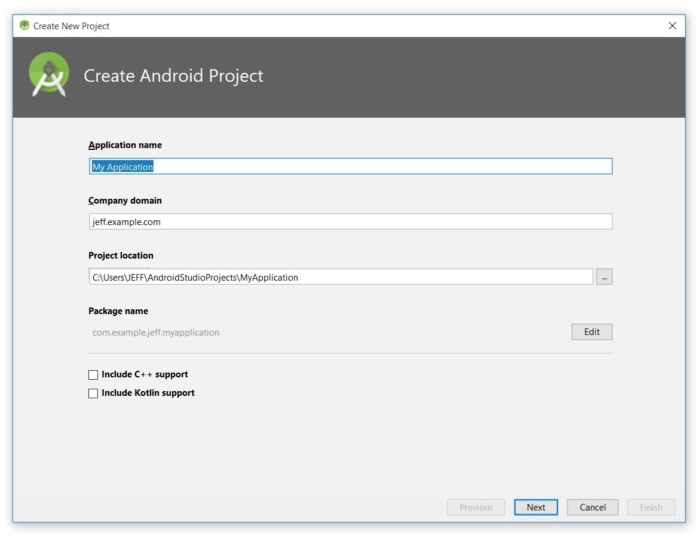
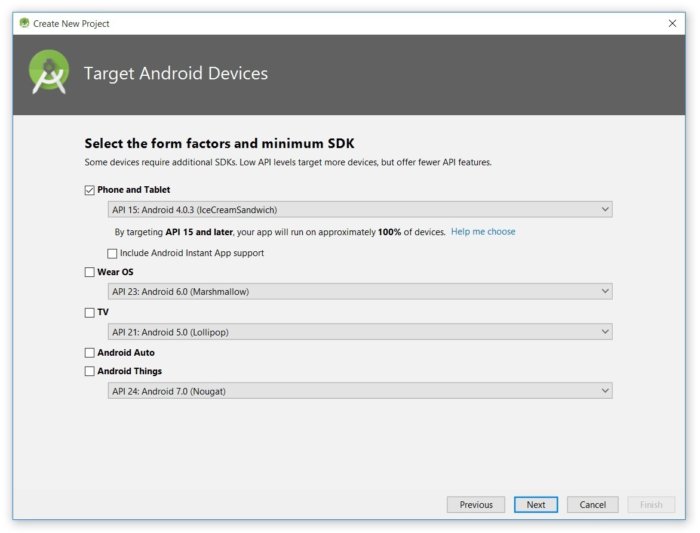
- In the next window, select the target Android devices and click Next.
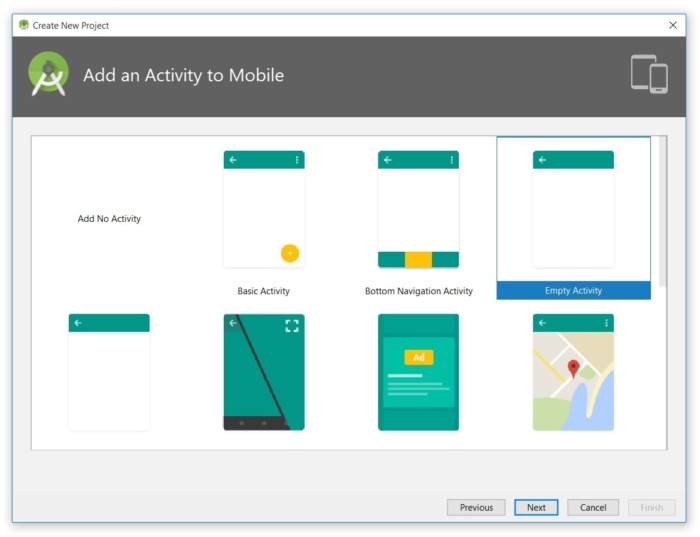
- The next window asks to select the type of Activity from the provided templates. Select Empty Activity and click Next.
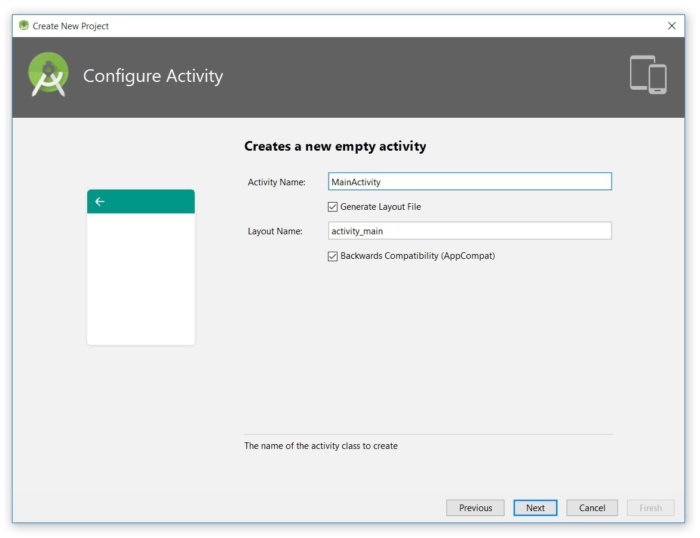
- Next enter the Activity and layout name. Type MainActivity and activity_main in ActivityName and Layout name respectively. After this, press Next.
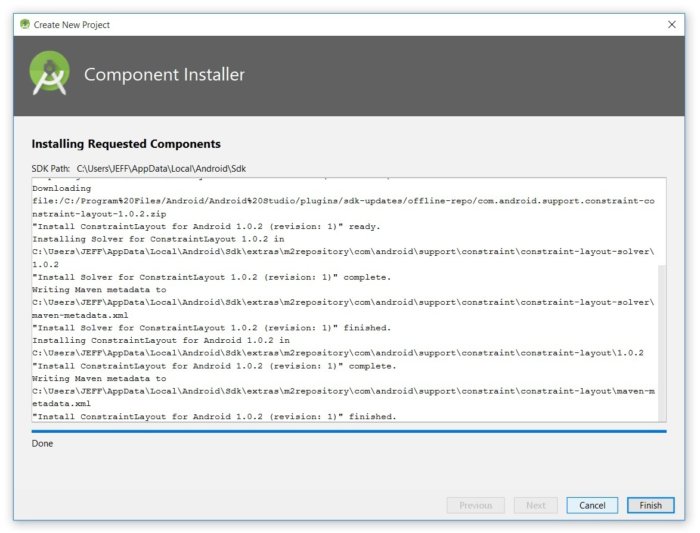
- A Installer windows opens up which creates the project. This might take some time, so sit back and relax. After its done, click Finish.
- The project is setup and we are ready to create our first app.
Video tutorial
You can follow this video for Windows installation Video Link
Installation on Mac Platform
To install Android Studio on your Mac, proceed as follows:
- Launch the Android Studio DMG file.
- Drag and drop Android Studio into the Applications folder, then launch Android Studio.
- Select whether you want to import previous Android Studio settings, then click OK.
- The Android Studio Setup Wizard guides you through the rest of the setup, which includes downloading Android SDK components that are required for development. Further steps are similar to Windows Installation and can be found here.
Video Tutorial
You can follow this video for Mac installation: Video Link
Installation on Linux Platform
To install Android Studio on Linux, proceed as follows:
- Unpack the
.zipfile you downloaded to an appropriate location for your applications, such as within/usr/local/for your user profile, or/opt/for shared users. - To launch Android Studio, open a terminal, navigate to the
android-studio/bin/directory, and executestudio.sh. - Select whether you want to import previous Android Studio settings or not, then click OK.
- The Android Studio Setup Wizard guides you through the rest of the setup, which includes downloading Android SDK components that are required for development. Further steps are similar to Windows Installation and can be found here.
Required libraries for 64-bit machines:
If you are running a 64-bit version of Ubuntu, you need to install some 32-bit libraries with the following command:
sudo apt-get install libc6:i386 libncurses5:i386 libstdc++6:i386 lib32z1 libbz2-1.0:i386
If you are running 64-bit Fedora, the command is:
sudo yum install zlib.i686 ncurses-libs.i686 bzip2-libs.i686
Video Tutorial
You can follow this video for Linux installation: Video Link